If you feel refreshed and relaxed after a bath, you know the importance of having a well-functioning bathtub at home. If your bathtub isn’t working, you’ll be anxious and angry.
A leaky bathtub can cause more damage if it gets attended to for a short time. The main reason for leaky bathtubs is an issue with the body, drain, grout, or faucet.
There are a variety of methods for keeping your tub from leaks. You can, for instance, utilize tub liners to change the tub’s look and make it look brand new. They are available in various stains and colors. However, they are generally quite costly.
The most economical method to fix the leak is finding it and then patching it with a suitable sealant. It is something you can do yourself without the expense of having to employ a plumber in Ottawa.
It would be best if you had the right tools to complete the task. But patching the leak with a sealant is only a temporary solution. Therefore, examining it every so often is essential to see if the seal will remain in place for a long time.
It is a step-by-step procedure on how to identify a leak in the tub and repair it:
Finding the Leak
It’s easy to identify a leaking faucet or grout. It’s also simple to examine the body for leaks. You’ll need a towel or masking tape, a rag, and old newspapers to complete the troubleshooting.
1: Begin by wiping the tub’s exterior wall. It should dry completely.
2: Once the exterior wall has dried, wrap it with a newspaper. Use masking tape to secure the newspaper in place on the bathtub.
3: Fill your tub with water. Look for areas that show moisture in your newspaper. The damp spots are leaky spots.
Repairing the Tub Faucet
Begin by shutting off the tub’s water supply. After that, please turn on the faucet and drain the water from all pipes connected to it.
Materials Required:
- Stem washers
- Pipe wrench
- Screwdrivers
- Gaskets
Advice on How to Fix the Leaky Faucet:
1: Take off the faucet’s handle. It is possible to remove the cap that covers the screws. Some faucets do not come with lids. The lid can get removed by popping it off with the screwdriver with a flat blade. After that, remove the screws and remove the handle.
2: Utilize a wrench to remove the nut that holds the plumbing fixture’s packing. The packing nut is a nut that keeps the end of the faucet when mounted.
3: Remove the old gaskets and washers. Install new gaskets into the faucet, and replace old washers.
4: Then step is to replace the tub faucet. Then, return the handle. Make sure to tighten the screws until everything is securely in position. After that, switch on the water supply. As the water runs, check for leaks at the faucet.
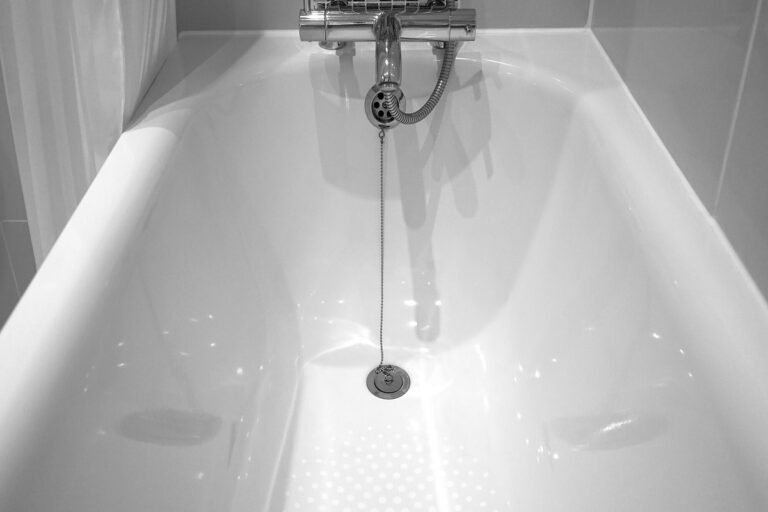
Resolving the Leaky Drain
If there is a drain leakage, ensure you have suitable materials and follow this advice.
Materials required:
- Putty knife
- Paper towel or Rag
- Pliers or drain-removing tools and a screwdriver
- Putty for plumbers
Instructions for Fixing the Drain
1: Begin by taking out the drain. Make use of a drain-removing tool. If you don’t have the tools, you can use pliers to grasp your drain’s mesh. Take a screwdriver, then insert it between the handles of the pliers. The screwdriver acts as a lever. You’ll have to turn the screwdriver counterclockwise, thus cutting the putty seal around the drain.
2: Check the drain and the pipe for indications of cracks or damage. Replace damaged pipes or drain with brand-new ones. If there’s nothing to be damaged, use the old drain.
3: Utilize a putty knife to scrape the old putty off the threads. Then, rinse the sink drain with hot water for the most effective results.
4: Roll an inch of putty over an inch by 5 inches rope.
5: Make sure you rope around the drain’s threads. Make sure you apply pressure lightly to remain in the correct position.
6. Repeat step 4 with another rope.
7: Tie the rope to the edge of the drain in the right direction towards the bottom. The area of the drain is touching the top of the tub.
8: Place the sink drain back onto the drain hole in your tub. Install the drain. Check that it is secure enough.
9: To fasten the tub drain into position, use the tool for drain removal or pliers and a screwdriver.
10: Wipe off any excess putty.
11: Turn on the water and check whether there’s a leakage.
Repairing Bathtub Leaks in the Body and Grout
It’s easy to fix small cracks or leaks within the tub’s body and grout. You’ll require a waterproof sealant as well as cleaning detergent and rug. You’ll also need the finest sandpaper.
Grout
1: Start by cleaning the leaky spot.
2: Then, turn off the water.
3: Let the grout dry completely. In the absence of this, it will result in the sealant failing to stay in place.
4: Follow the directions of the manufacturer for applying a waterproof sealant. Allow it to dry and cure.
5: Turn on the water, and look for leaks.
Making Bathtub Body Repairs
1: Begin by cleaning the tub’s inner surface.
2: Mark all areas that need to get repaired. Utilize either a wax pencil or marker to mark.
3: Apply a waterproof sealant. Let it completely dry.
4: Sand the repaired place lightly. It removes the excess sealant. It will also smooth the surface of the repair. Whatever your plumbing requirements are, from an easy or complex emergency repair, or the installation of bathtubs and showers that are brand new, it is possible to trust the helpful, professional experts of Ottawa Plumbing Service. Call our trusted Ottawa plumbers today at (613) 317-1682.


