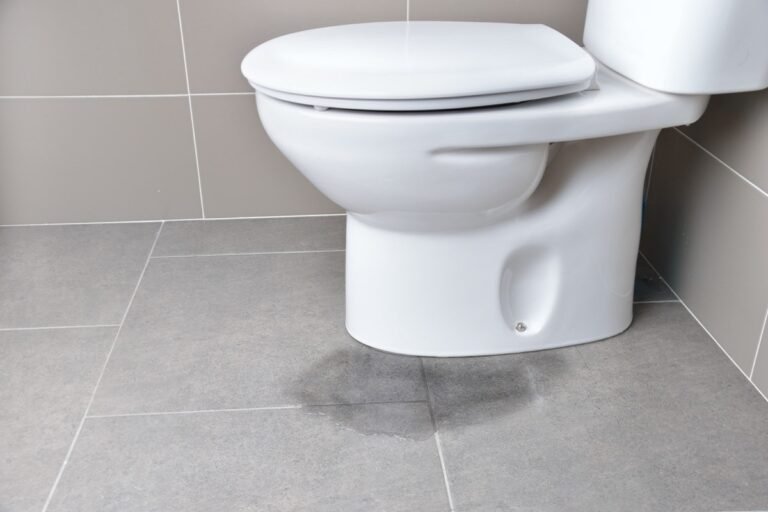
A toilet that leaks is not just an unpleasant experience; it could result in water accumulation on the bathroom floor. If you observe that the base of your toilet leaks, the issue can solve swiftly. In this post, we’ll go over the potential causes of these leaks and the steps to fix the toilet leaking at the base.
The Causes of Toilet Leaks
Suppose you notice that your toilet is blocked and leaks from the base; it’s usually an indication of underlying issues in your plumbing connection. You must find the root source of the problem to repair the leak fully.
Here are some possible causes for an issue at the base of your toilet:
1: Water Condensation: The humidity can create condensation on the bowl or tank. The water drips down and collects and forms a pool at the bottom.
2: The Lines for the Water Supply Are Getting Loose: Another reason for water accumulating around the toilet’s base systems is the presence of open plumbing lines for the water supply. If this occurs, it will cause water to sit on the floor of your toilet throughout the day, not just after you flush.
3: They Have Broken Wax Rings: The wax ring part of your toilet may wear out from years of use. It could also become damaged when the bathroom becomes loose. Additionally, the seal of the wax ring might not be as strong, which causes water to escape.
4: Loose Tee Bolts: When it comes to toilets in RVs, this is usually the reason. Sometimes, a leaky RV toilet at its base results from the tee bolts becoming loose when the toilet gets tossed around throughout travel. The loose bolts can cause the bathroom to shift and crack the wax ring seal. If this occurs, the drain water will escape from the base whenever someone flushes the toilet. It can also happen within bathrooms in the home, particularly if you have an older model.
5: Cracks in Plastic Bowls: Many RVs come with plastic bowls that could crack because of winterization. Many if this happens, you’ll need to purchase a new bowl. It could be another reason you discover your RV toilet leaks in the middle.
6: Leaking Flange: It’s evident after flushing the toilet. In certain situations, the leak could emanate from the floor rather than the actual base of the toilet. In these instances, you’ll need to replace the flange to prevent the water from leaking.
Simple Fixes for Toilets Leaking from the Base
Here are a few quick fixes for a toilet leaking or blocked from the toilets after you’ve determined the potential causes and the tools you’ll need for a good spot. Pick the best solution based on the possible reason you’ve identified.
We’ve arranged the solutions below in a step-by-step manner. It means you can look over one solution following the other. Follow the steps below to fix a bathroom that leaks from the bottom.
Remove the Condensation
It is the simplest solution on our list. Suppose you suspect that condensation is present is a possibility. In that case, you must cover your tank with a blanket or put it in a tray that collects the condensation. It is also essential to check for a damaged flapper within the tank and fix open water supply lines If you notice any.
Check the Tee Bolts
The plastic covering gets removed from the tee bolts near the bowl’s base. Use an electric screwdriver or a putty knife to take off the cover. Then tighten the screws using an adjustable wrench. Then flush the toilet and check whether there is a leak. The wax ring could require replacement if this does not resolve the issue.
Removing the Toilet
You’re now moving on to the more intricate aspect of removing the excess moisture accumulated at the bottom of toilet fixtures. Make sure to shut off the water before getting rid of the toilet. The shutoff valve is located close to an outlet tube for water on the right side inside the bathroom.
Change the Wax Ring
Use your putty knife to remove the old worn-out band, and ensure that you have removed every drop of wax. After that, put the brand new wax band using the cone of the plastic facing downwards to drain. Then, check the flange for any leaks. Ensure all bolts on the tee get correctly positioned if the flange appears good before installing the toilet. If there is a leak, it is necessary to seek professional assistance.
Installing the Toilet
These are the exact steps to follow when installing the new toilet. The first step is to lift the toilet cautiously – ask someone to assist you if the one isn’t heavy enough. After that, you can place it on the drain. Ensure all the tee bolts pass through the holes properly at the bottom.
Place the toilet on the wax ring to form an airtight seal. Sure, you get it slowly. Otherwise, the porcelain could crack. Make use of your wrench to tighten the bolts and nuts. Make use of your wrench to tighten the bolts and nuts.
Reconnect to the Water Supply Lines
Connect the supply lines with the valve. Turn on the water and perform a test flush. Check the base of the toilet to see if there are leaks.
Add Some Caulking
Apply caulking to the bottom in the base of the toilet. It helps stop leaks and forms an airtight seal to prevent smells from entering the bathroom.
Never Again Stress Over Toilets Leaking
Suppose you still have a leaking toilet at the base after following all the fixes mentioned above. In that case, it’s time to call for professional help. Sometimes, diagnosing the cause without the right abilities and knowledge can be difficult. In that case, it’s time to seek expert assistance.
Ottawa Plumbing Service has professionally certified plumbers that can quickly and carefully resolve any toilet leak, clogs, and other plumbing problems. We can count on our decades of experience and highly skilled plumbers to complete the task on the first attempt. Additionally, we offer tips for preventative maintenance to ensure you are not faced with leaky toilets shortly. Call us at (613) 317-1682 for an estimate.


